Many Android developers like me switch to Android Studio from Eclipse for better performance and integration. Android Studio has many new features that can speed up your android development.
Many times Eclipse hangs and we need to kill and and start again but this does not happen in Android Studio. Android Studio also has some nice preview when you creating layouts for the app. It has gradle support which eliminate the mess of including the libraries.
At start, you found Android Studio somewhat difficult but once you use it for few days, you will never go back to Eclipse(My personal experience!). The reason behing the difficulty of Android Studio is that the project structure and android project is totally different from Eclipse. But you got it easily after few days. Follow this thread if you need more info. on Android Studio and Eclipse difference.
Now get back to our tutorial, how to install Android Studio in Ubuntu. Currently I have Ubuntu 14.10 and Android Studio is working completely fine. Follow the below steps.
1. Download Android Studio from Google
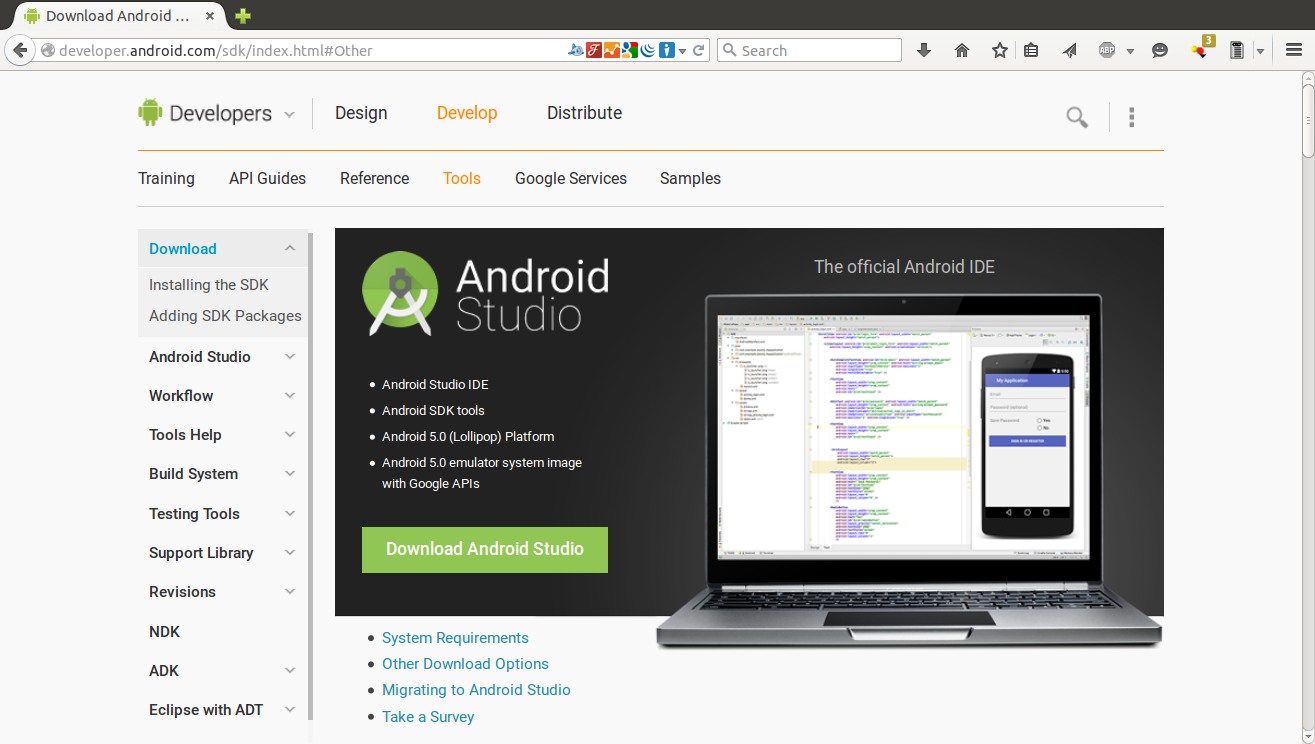
You can find the latest version of Android Studio from official Android website here.
Download: https://developer.android.com/sdk/index.html
Now go to bottom of the page and find section "All Android Studio Packages" and download .zip file of Linux Platform.
2. Extract the .zip file into your hard drive and run from Terminal.
Now you have to extract the downloaded .zip file of Android Studio to one of your folder in hard drive. Now to run Android Studio for first time you need to run the .sh file from /bin folder from terminal. Below screenshot gives you the idea about that.
And it will open the Android Studio.
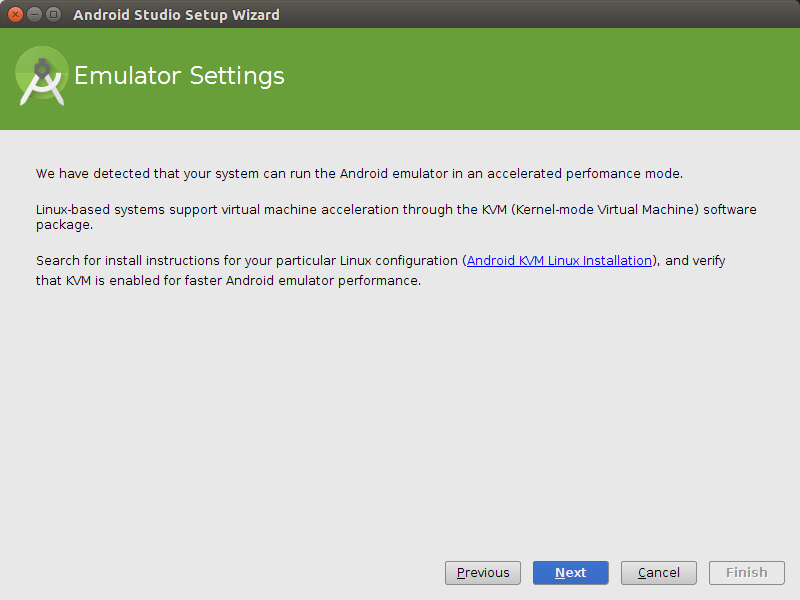
Now it will ask you for few preference and then at last it will ask to download some Android SDK component in case of you don't have them already. Follow the screenshots.
3. Create launcher icon for Android Studio.
Once you open android studio from terminal as per above instructions, you can create launcher icon following way.
Go to Tools menu or press "Alt+t" from your keyboard. It will open Tools menu where you can find "Create Desktop Entry..." option. Please select it and confirm that you want to create launcher icon for android studio. After that open your dash by pressing master key(windows key) and you can find android studio icon there.


